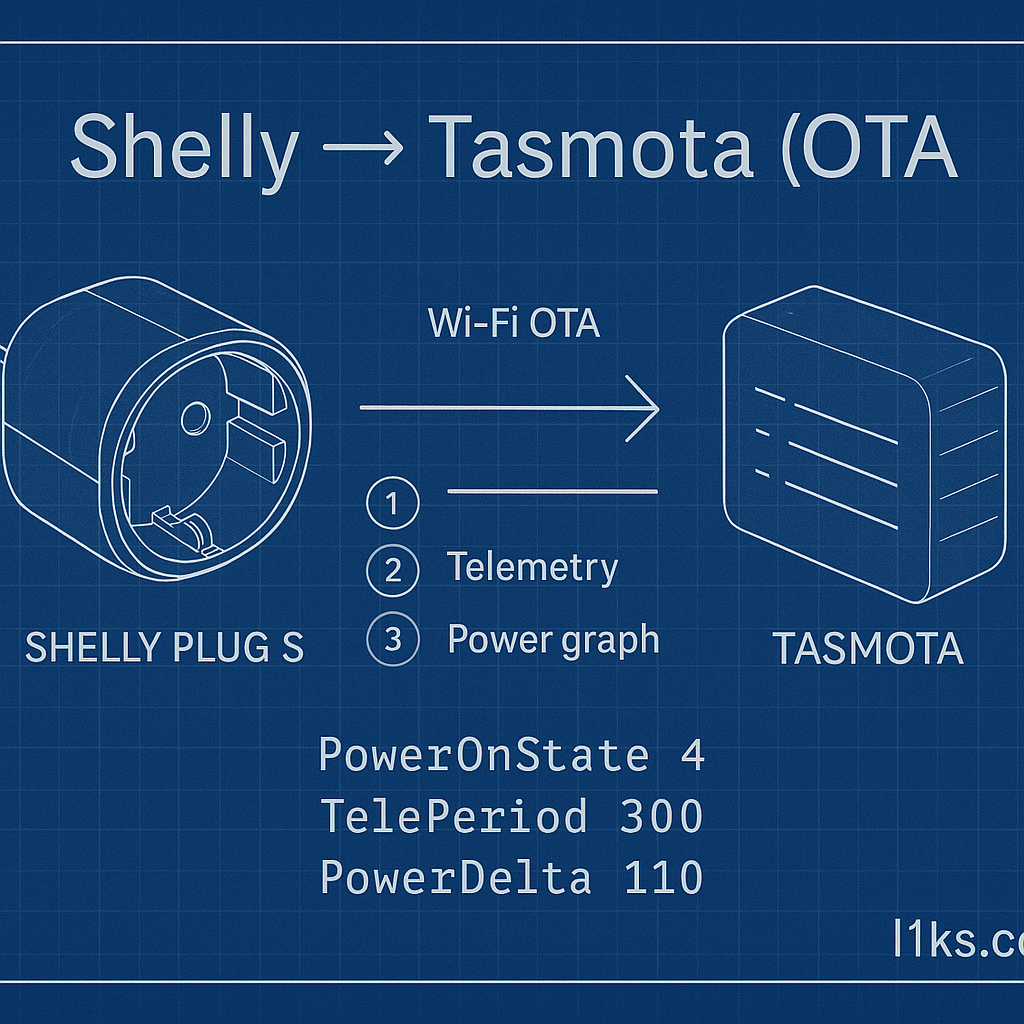
Convert Shelly → Tasmota (OTA) and tune it for power-only monitoring (Shelly Plug S)
Flashing a Shelly to open-source (Tasmota) firmware is fast and safe over Wi-Fi using the mgos-to-tasmota bridge. Full instructions live here : https://github.com/arendst/mgos-to-tasmota/blob/master/README.md GitHub
Requirements
- Shelly on stock firmware, connected to your Wi-Fi (note its IP).
- For Shelly Plug S (ESP8266 model), we’ll use the mgos→Tasmota OTA bridge.
Step-by-step: OTA to Tasmota
Open the OTA URL in your browser (replace shellyip with your device IP):
http://shellyip/ota?url=http://ota.tasmota.com/tasmota/shelly/mg2tasmota-ShellyPlugS.zip
The device reboots a couple of times, downloads Tasmota, and finally exposes a Wi-Fi AP (tasmota-XXXX). Connect, set your Wi-Fi, and it will join your LAN. Typical run time: ~4–5 minutes. GitHub
- Apply the Plug S template (one-time, enables energy sensor & LEDs). In Tasmota WebUI → “Other”
- Template:
(This is the known Plug S template.) templates.blakadder.com
Mark: Activate
Define Device_Name and Firnedly Name
SAVE
- (Optional but recommended) Calibrate power measurement if you need high accuracy (follow the device template note in blakadders page).
- Configure MQTT if you use a broker or Home Assistant: WebUI → Configuration → Configure MQTT. tasmota.github.io
Make Plug S “monitor-only” (disable the switch)
If you only want consumption metrics and never want the relay to toggle:
- Lock the relay ON and ignore toggles:
PowerOnState 4= turn relay ON and disable further relay control (blocks button/UI/MQTT power commands). tasmota.github.io
4
Control how often data is published
Tasmota sends “telemetry” (tele/…/SENSOR) every 300s by default. You can either lower that period or publish on change using PowerDelta for energy devices. tasmota.github.io
- Publish all telemetry more often (e.g., every 60s):
TelePeriod 60
(Allowed range: 10…3600 seconds; default 300.) - Publish when power changes (reduces traffic while keeping responsiveness):
PowerDelta 5 // send when power changes ≥5% (1..100 = percent)PowerDelta 110 // send when power changes ≥10 W (101.. = watts; 101=1W)
These trigger an immediate MQTT telemetry when the delta threshold is met.
Tip: UseTelePeriodfor a slow heartbeat (e.g., 300s) andPowerDeltafor near-real-time power updates.
Quick console backlog (copy-paste)
For a Plug S used only as a meter:
Backlog Template {"NAME":"Shelly Plug S","GPIO":[56,255,158,255,255,134,0,0,131,17,132,21,255],"FLAG":2,"BASE":45}; Module 0; PowerOnState 4; TelePeriod 300; PowerDelta 110
TelePeriod 300keeps the 5-min baseline.PowerDelta 110emits telemetry on each ≥10 W change; adjust to taste.
Notes & troubleshooting
- If the OTA download fails, power-cycle as the device retries until it succeeds. GitHub
References
- mgos→Tasmota OTA (README): https://github.com/arendst/mgos-to-tasmota/blob/master/README.md
- Tasmota Commands (full list): https://tasmota.github.io/docs/Commands/
- Shelly Plug S template (Blakadder): templates.blakadder.com
That’s it. Simple OTA, template, and three commands: PowerOnState 4, PowerDelta …, TelePeriod …. Clean, reliable, and no more accidental switching.